To start he placed the 25 cent garage sale doll on a wooden board in the "per-nefer".

He then cut off the hair
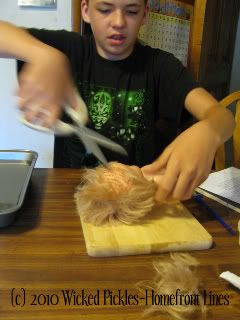
and washed the doll in the Nile.

After placing the doll back on to the board he removed the brain by inserting a hook through the nose.

He washed the mouth and packed the mouth and eyes with resin soaked linen. We used paper towels.
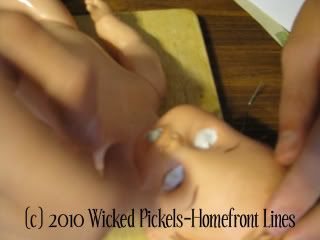
He then cut a slit on the left side to remove the lungs, liver, stomach and intestines.

He washed the doll with palm wine (red wine vinegar),
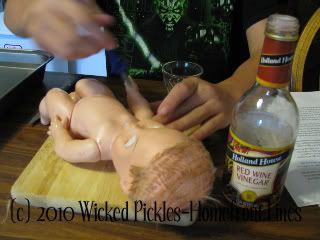
spices (allspice)
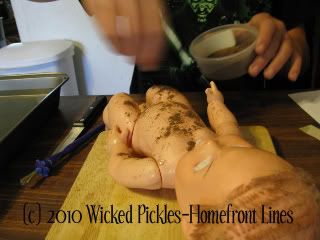
and covered the doll with natron (salt).

It was then to be left for 40 days to dry. We waited 40 minutes.
During the 40 day wait, the organs were washed with palm wine, spices and covered in natron.

Dill then made canopic jars and placed the the organs into the correct jars.
After the 40 day wait he rewashed the doll with palm wine and anointed the doll with oil.

(we only had canola oil so Sweet sprayed some cotton candy body spray into it to make it sweet smelling)

He finally started to wrap the doll starting with the head, hands and feet. We used paper towel for our first layer.

After the first layer of wrap he added beads that he used as amulets.

He then wrapped the doll from head to toe with strips of a linen dish towel.
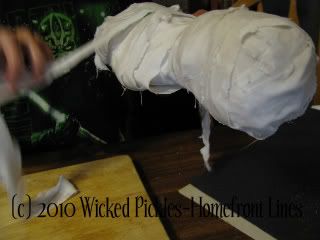
After making a mask, the mummy was was ready for entombment.

Voila! Dill went through the process of making a mummy. Though all the picklets found it somewhat creepy, there is nothing like a hands on project to really learn. There is nothing like homeschooling!
Dill read several books about Ancient Egypt as well as his text from Pass. He also looked up information on the Internet about the steps to mummifying. He found two sites, Wiki Answers and a Youtube video, that provided the steps he needed to mummify the doll. The you-tube he used was taken off because of the music they used. But if you google how to mummify a doll or a barbie doll you will find several examples.

(c) 2008-2010 Wicked Pickles-Homefront Lines


6 comments:
Ewwwww, I have to go with the Picklets on this one and call it creepy. LOL We are doing Egypt right now too so I may have to talk mine into do this as well. There is nothing like doing to make one really understand a concept. Great project!
Wow! We enjoyed the entire post while making 'ew' 'gross' 'creepy' comments :) Our favorite part was letting it sit for 40 days (er, minutes!). This was a great post! Thanks for sharing!
Thanks for sharing! I'll bet your son had a great time doing that project. We, too, are studying Ancient Egypt right now. This week we are making Shabtis which were little people often buried with Egyptians so that the Shabtis could help them in the afterlife. Ancient Egypt studies just lend themselves so well to lots of hands-on projects!
Samantha
Good job! This will come in so handy when he becomes a...mummifier? Well, at least he'll know exactly what to do when his own kids are doing a study of ancient Egypt - not to mention the science that he just picked up!
I have never heard of anyone doing this. lol Your son will never forget this project. A great hands on activity in the study of Ancient Egypt.
Elisabeth
Great job! Love it!!
Post a Comment